
hikaku-server
ServersMan@VPS(CentOS7) サーバ監視方法(munin)
DTI ServersMan@VPS(CentOS7)のサーバ監視方法(munin)です。
muninとは、簡単な設定でサーバを監視できるソフトウェアです。
閾値を超えるとメール送信したり、スマートフォン(Android)から
閲覧するアプリケーションも有ります。
また、以下に分かりやすい説明が有ります。
本ページの目次
メール送信方法
他のサーバ(ノード)を監視する方法
muninのインストール
muninは、サーバ/ノード(munin-node)構成ですが、今回は
自サーバで自サーバを監視する構成にしました。
■epel-releaseのインストール
※EPELリポジトリからthunderbirdをダウンロードするため。
yum install epel-release
■muninのインストール
yum install munin
/var/www/htmlにmuninディレクトリが作成されました。
■EPELリポジトリの無効化
vi /etc/yum.repos.d/epel.repo
enabled=1を0に変更。
※今後、EPELリポジトリを使用する際は
yum install --enablerepo=epel パッケージ名
か、再度enable=1へ変更します。
muninの設定とノードの起動
■WEB設定を確認します。
vi /etc/httpd/conf.d/munin.conf
ディレクトリは/var/www/html/muninとの記載が有りました。
また、認証に関する記載も有りますね。
<directory /var/www/html/munin>
AuthUserFile /etc/munin/munin-htpasswd
AuthName "Munin"
AuthType Basic
require valid-user
■ベーシック認証で使用するユーザ名、パスワードの作成
htpasswd /etc/munin/munin-htpasswd 任意の文字列(=ベーシック認証で使用するユーザ名)
New password:
Re-type new password:
Adding password for user ***
■munin-nodeを起動します。
systemctl start munin-node
■munin-nodeを自動起動と指定します。
systemctl enable munin-node
■httpdを再起動します。
systemctl restart httpd
データの取得は/etc/cron.d/muninによって5分毎に実行されます。
cat /etc/cron.d/munin
#
# cron-jobs for munin
#
MAILTO=root
*/5 * * * * munin test -x /usr/bin/munin-cron && /usr/bin/munin-cron
※/var/www/html/muninディレクトリの所有者を変更していたため、
Cron Daemonから以下のエラーを受信しました。
[ERROR] Could not copy contents from /etc/munin/static/ to /var/www/html/munin at /usr/share/perl5/vendor_perl/Munin/Master/HTMLOld.pm line 718.
/var/www/html/muninディレクトリの所有者をmuninへ変更するとエラーが無くなりました。
chown -R munin:munin /var/www/html/munin
■値を正しく返すか確認します。
munin-run cpu
munin-run load
munin-run memory
■telnetでも確認します。
telnet localhost 4949
Trying 127.0.0.1...
Connected to localhost.
Escape character is '^]'.
# munin node at localhost.localdomain
fetch cpu
user.value *
nice.value *
system.value *
idle.value *
iowait.value *
irq.value 0
softirq.value 0
steal.value 0
■muninのチェック
munin-check
WEBブラウザから閲覧
WEBブラウザからアクセスします。
http://IPアドレス/munin
設定したベーシック認証のパスワードを入力します。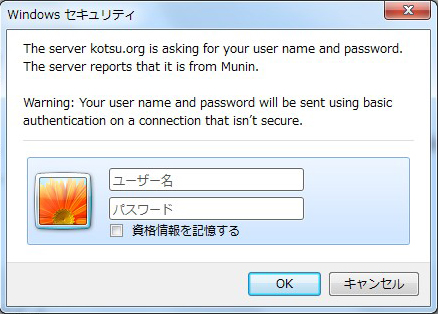
正しくトップページが表示されました。シンプルな見た目です。
また、WEB上にテンプレートも何個か有りました。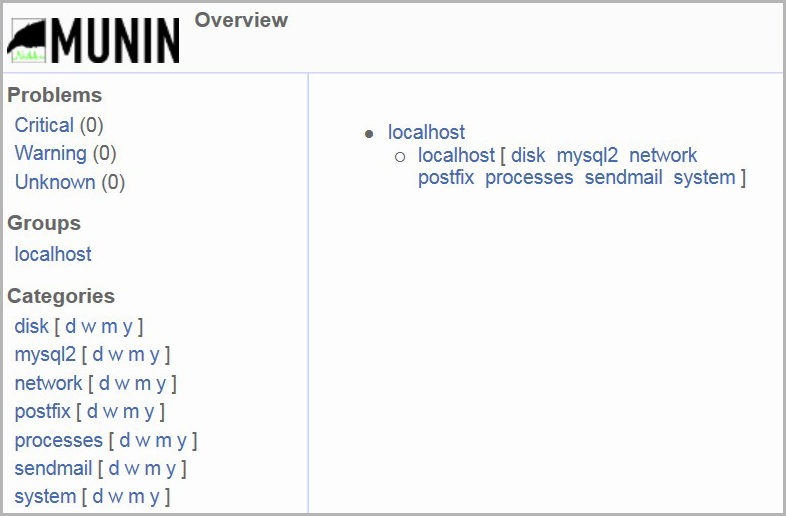
スマートフォン(Android)から確認
Munin for Androidをダウンロードしインストールします。
Munin for Android
サーバのURLを追加し、完了です。
※Apache、BINDのプラグインの追加後の画面です。
※右下の画像はchromeにてアクセスしたところです。
文字が自動翻訳されました。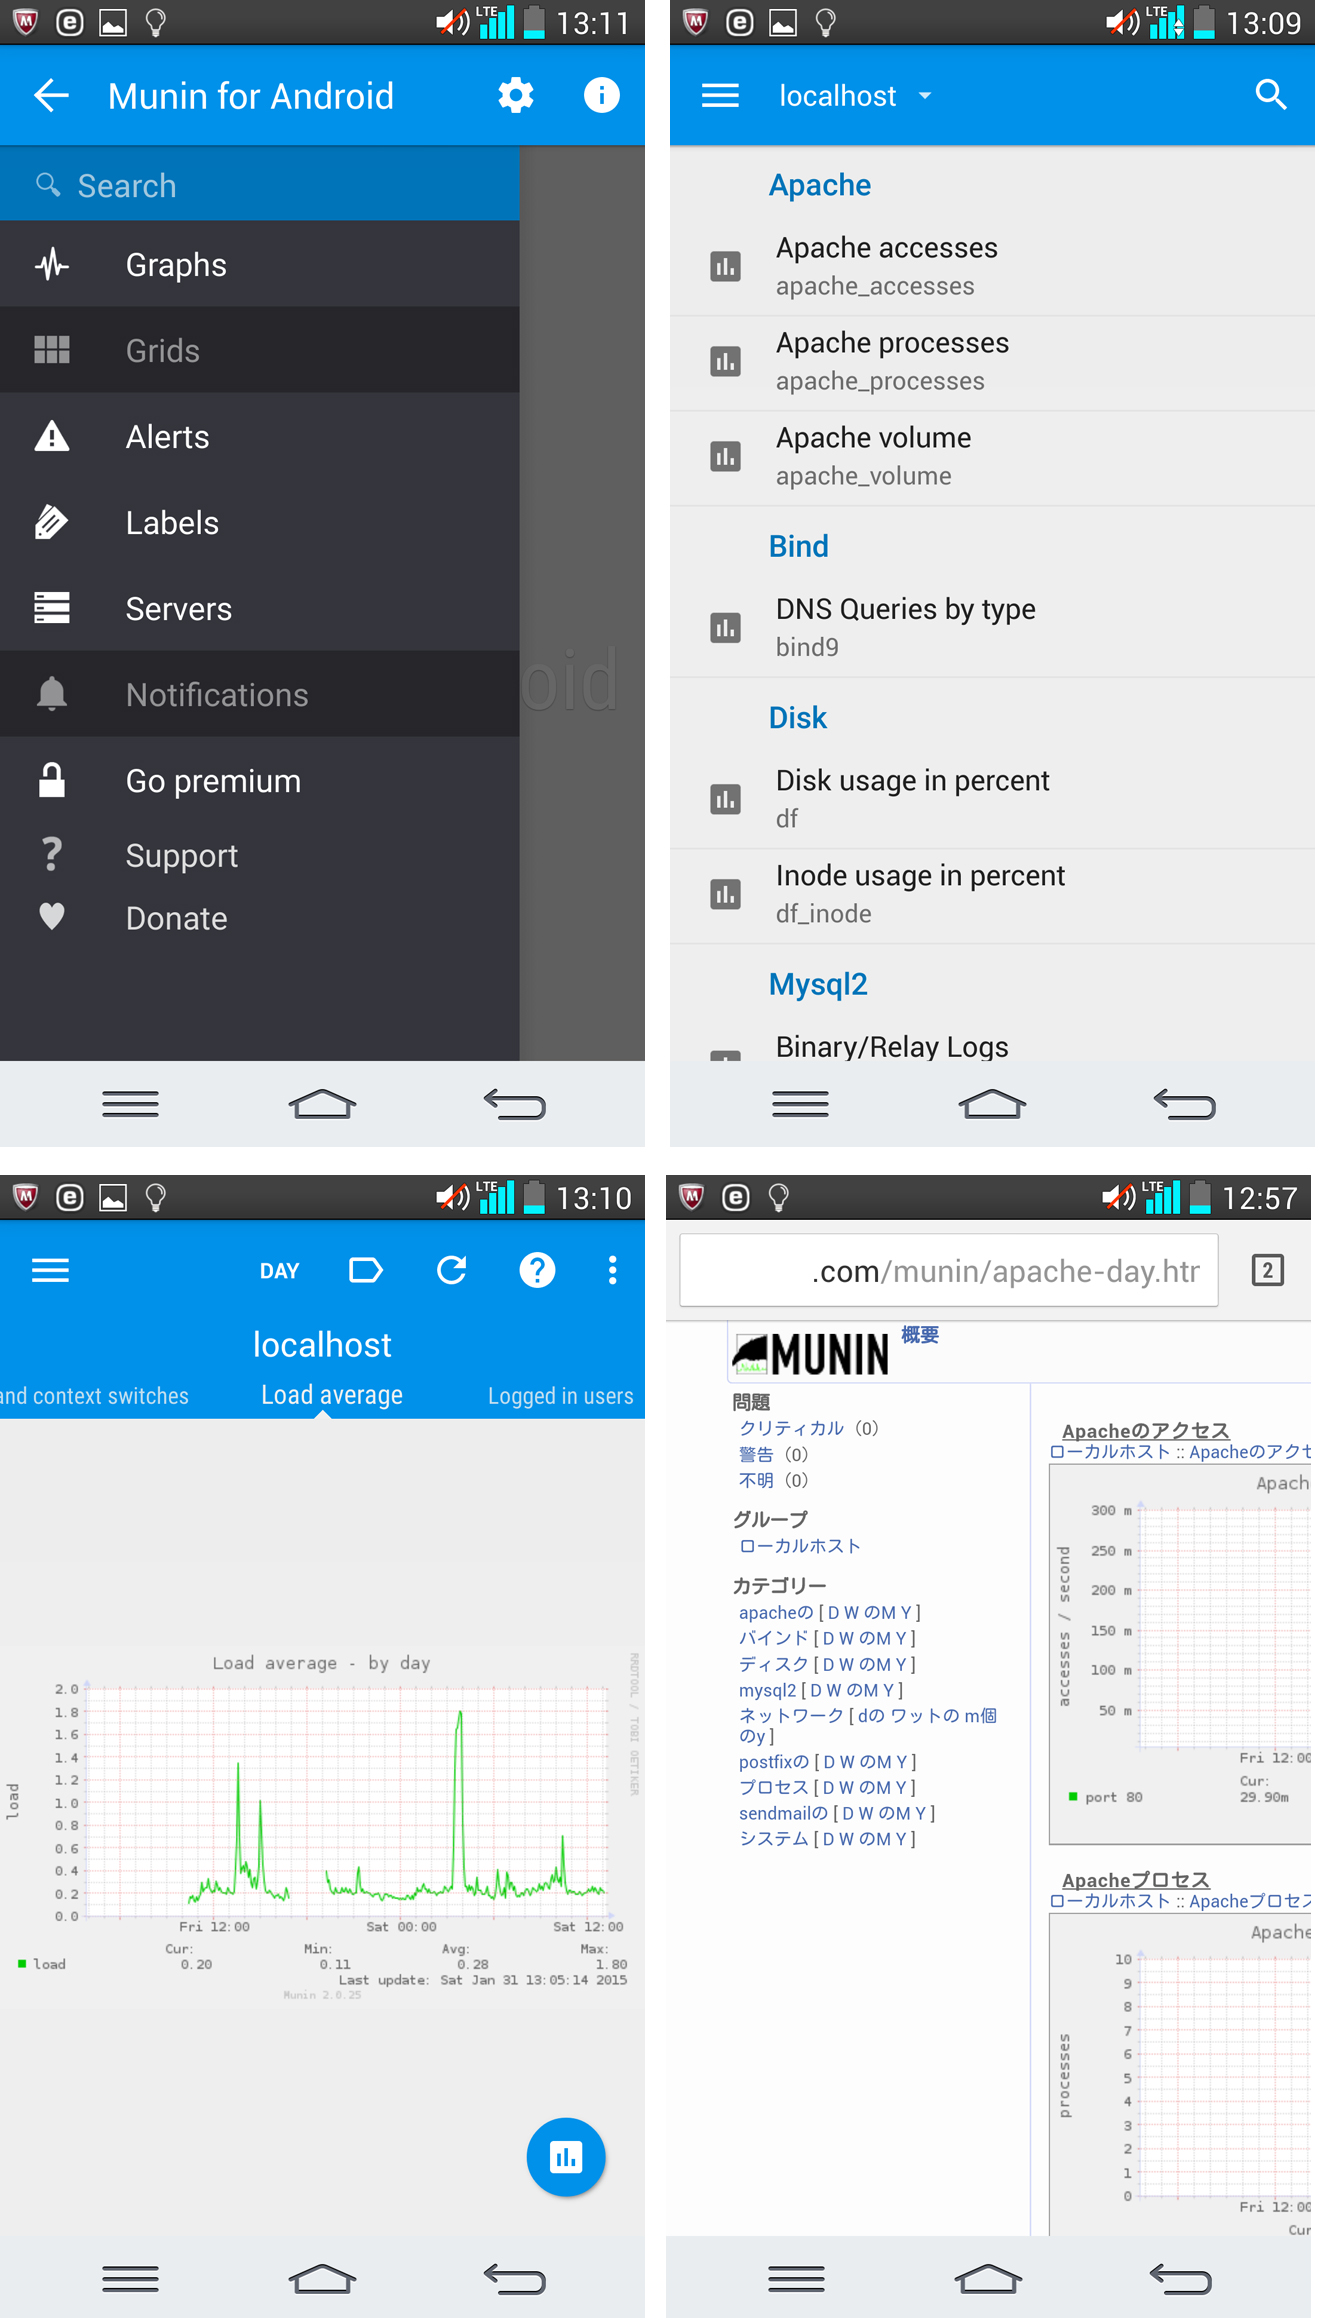
プラグインの追加
■最初から初期設定で使用しているプラグイン
最初から初期設定で使用しているプラグインは以下です。
ls /etc/munin/plugins
cpu
df
df_inode
entropy
forks
fw_conntrack
fw_forwarded_local
fw_packets
if_err_venet0
if_venet0
interrupts
load
memory
mysql_bin_relay_log
mysql_commands
mysql_connections
mysql_files_tables
mysql_innodb_bpool
mysql_innodb_bpool_act
mysql_innodb_insert_buf
mysql_innodb_io
mysql_innodb_io_pendmysql_sorts
mysql_innodb_logmysql_table_locks
mysql_innodb_rowsmysql_tmp_tables
mysql_innodb_semaphoresnetstat
mysql_innodb_tnxopen_files
mysql_myisam_indexesopen_inodes
mysql_network_trafficpostfix_mailqueue
mysql_qcachepostfix_mailvolume
mysql_qcache_memproc_pri
mysql_replicationprocesses
mysql_select_typessendmail_mailqueue
mysql_slowsendmail_mailstats
sendmail_mailtraffic
swap
threads
uptime
users
vmstat
■用意されているプラグイン
用意されているプラグインは以下のものが有りました。
ls /usr/share/munin/plugins
acpi
amavis
apache_accesses
apache_processes
apache_volume
apc_envunit_
apc_nis
apt
apt_all
asterisk_channels
asterisk_channelstypes
asterisk_codecs
asterisk_meetme
asterisk_meetmeusers
asterisk_sipchannels
asterisk_sippeers
asterisk_voicemail
bind9
bind9_rndc
bonding_err_
buddyinfo
cmc_tc_sensor_
courier_
courier_mta_mailqueue
courier_mta_mailstats
courier_mta_mailvolume
cps_
cpu
cpuspeed
cupsys_pages
df
df_abs
df_inode
digitemp_
diskstat_
diskstats
ejabberd_
entropy
exim_mailqueue
exim_mailqueue_alt
exim_mailstats
fail2ban
foldingathome
foldingathome_rank
foldingathome_wu
forks
freeradius_acct
freeradius_auth
freeradius_proxy_acct
freeradius_proxy_auth
fw_conntrack
fw_forwarded_local
fw_packets
haproxy_
haproxy_ng
hddtemp
hddtemp2
hddtemp_smartctl
hddtempd
hp2000_
http_loadtime
if_
if_err_
ifx_concurrent_sessions_
interrupts
iostat
iostat_ios
ip_
ipac-ng
ipmi_
ipmi_sensor_
ircu
irqstats
jmx_tomcat_dbpools
load
loggrep
lpar_cpu
lpstat
mailman
mailscanner
mbmon_
meminfo
memory
mhttping
multiping
multips
multips_memory
munin_stats
munin_update
mysql_
mysql_bytes
mysql_innodb
mysql_isam_space_
mysql_queries
mysql_slowqueries
mysql_threads
named
netopia
netstat
netstat_multi
nfs4_client
nfs_client
nfsd
nfsd4
nginx_request
nginx_status
nomadix_users_
ntp_kernel_err
ntp_kernel_pll_freq
ntp_kernel_pll_off
ntp_offset
ntp_states
nut_misc
nut_volts
nutups_
nvidia_
open_files
open_inodes
openvpn
perdition
pgbouncer_connections
pgbouncer_requests
ping_
plugin.sh
plugins.history
pm3users_
pop_stats
port_
postfix_mailqueue
postfix_mailstats
postfix_mailvolume
postgres_autovacuum
postgres_bgwriter
postgres_cache_
postgres_checkpoints
postgres_connections_
postgres_connections_db
postgres_locks_
postgres_oldest_prepared_xact_
postgres_prepared_xacts_
postgres_querylength_
postgres_scans_
postgres_size_
postgres_streaming_
postgres_transactions_
postgres_tuples_
postgres_users
postgres_xlog
proc
proc_pri
processes
proxy_plugin
ps_
psu_
qmailqstat
qmailscan
qmailscan-simple
quota_usage_
samba
selinux_avcstat
sendmail_mailqueue
sendmail_mailstats
sendmail_mailtraffic
sensors_
slapd_
slapd_bdb_cache_
slony_lag_
smart_
snmp__cpuload
snmp__df
snmp__df_ram
snmp__fc_if_
snmp__fc_if_err_
snmp__if_
snmp__if_err_
snmp__if_multi
snmp__load
snmp__memory
snmp__netapp_diskusage_
snmp__netapp_inodeusage_
snmp__netstat
snmp__print_pages
snmp__print_supplies
snmp__processes
snmp__rdp_users
snmp__sensors_fsc_bx_fan
snmp__sensors_fsc_bx_temp
snmp__sensors_fsc_fan
snmp__sensors_fsc_temp
snmp__sensors_mbm_fan
snmp__sensors_mbm_temp
snmp__sensors_mbm_volt
snmp__swap
snmp__uptime
snmp__users
snmp__winload
snmp__winmem
snort_alerts
snort_bytes_pkt
snort_drop_rate
snort_pattern_match
snort_pkts
snort_traffic
spamstats
squeezebox_
squid_cache
squid_icp
squid_objectsize
squid_requests
squid_traffic
surfboard
swap
tcp
threads
tomcat_access
tomcat_jvm
tomcat_threads
tomcat_volume
uptime
users
varnish_
vlan_
vlan_inetuse_
vlan_linkuse_
vmstat
vserver_cpu_
vserver_loadavg
vserver_resources
yum
zimbra_
■使用できそうなプラグインを確認する
munin-node-configure --suggest
Apacheのプラグインの追加
Apacheのプラグインを指定しました。
用意されているプラグインフォルダ「/usr/share/munin/plugins」から
使用したいプラグインを選び、使用するプラグインフォルダ「/etc/munin/plugins」へ
シンボリックリンクを作成します。
ln -s /usr/share/munin/plugins/apache_accesses /etc/munin/plugins/apache_accesses
ln -s /usr/share/munin/plugins/apache_processes /etc/munin/plugins/apache_processes
ln -s /usr/share/munin/plugins/apache_volume /etc/munin/plugins/apache_volume
■httpd.confの編集
Apacheのバージョンは2.4.6です。
apachectl -v または httpd -v
Server version: Apache/2.4.6 (CentOS)
Server built: Jan 11 2015 13:22:31
Apache2.4のRequireの記載方法は以下に記載が有りました。
■mod_status.soのロード確認
cat /etc/httpd/conf.modules.d/00-base.conf
LoadModule status_module modules/mod_status.so
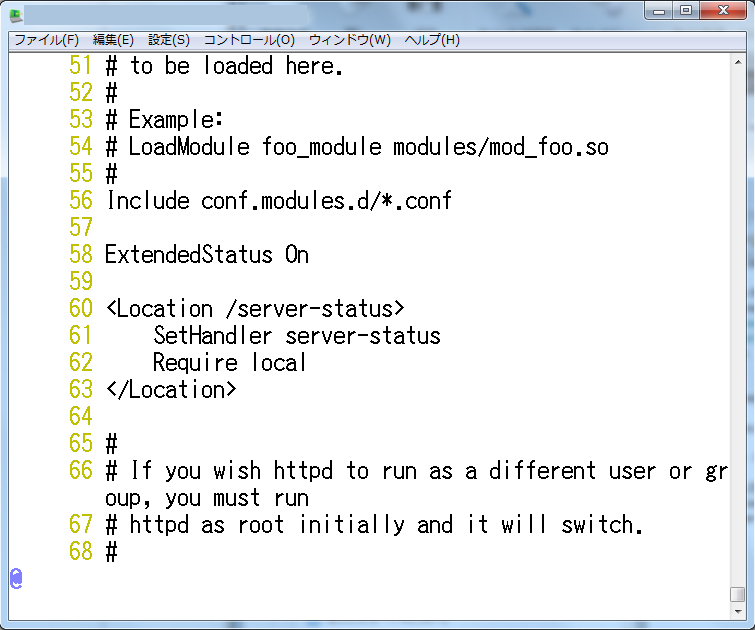
■httpd.confの編集
拡張ステータスの取得と、localからのserver-statusへのアクセスを
設定しました。
Requireは「Require local」や「Require ip 127.0.0.1」などと指定できます。
vi /etc/httpd/conf/httpd.conf
# Dynamic Shared Object (DSO) Support
#
# To be able to use the functionality of a module which was built as a DSO you
# have to place corresponding `LoadModule' lines at this location so the
# directives contained in it are actually available _before_ they are used.
# Statically compiled modules (those listed by `httpd -l') do not need
# to be loaded here.
#
# Example:
# LoadModule foo_module modules/mod_foo.so
#
Include conf.modules.d/*.conf
ExtendedStatus On ※追加しました。
以下4行を追加しました。
<Location /server-status>
SetHandler server-status
Require local
</Location>
■Apacheの再起動
systemctl restart apache
■munin-nodeの再起動
systemctl start munin-node
■server-statusの値を返すかの確認
curl "http://127.0.0.1/server-status?auto".
Total Accesses: *
Total kBytes: *
CPULoad: .*
Uptime: *
ReqPerSec: .*
BytesPerSec: *
BytesPerReq: *
BusyWorkers: *
IdleWorkers: *
Scoreboard: *
■server-statusの値を返すかの確認(WEBブラウザから)
WEBブラウザから見るにはRequireで指定したIPアドレスの端末
(自分自身等)からアクセスします。
http://自分のIPアドレス/server-status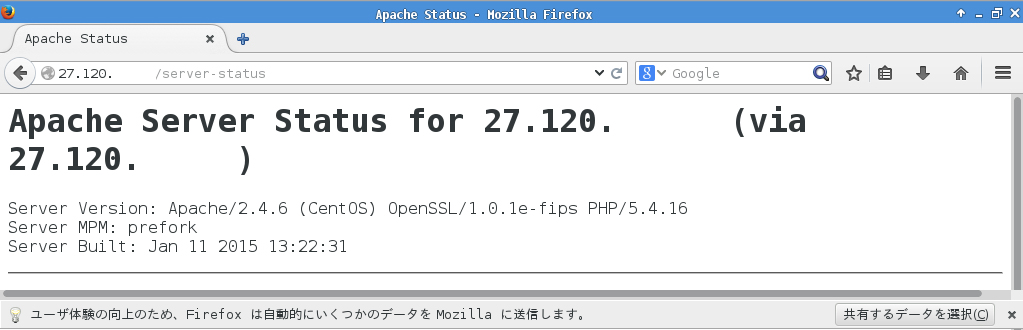
※server-statusへアクセス出来ない場合、WordPressや.htaccessでリダイレクト
設定を入れている場合はそれを編集して下さい。自環境の場合は、httpd.confを
編集し一度ドキュメントルートを/var/www/html2等へ変更してから
http://自分のIPアドレス/server-status へアクセスし表示されることを確認、
ドキュメントルートを/var/www/htmlへ戻し、
http://自分のIPアドレス/server-status へアクセスし表示されることを確認しました。
■値を正しく返すか確認します。
「accesses80.value U」などvalue Uと表示される場合は値を取得できていません。
munin-run apache_accesses
munin-run apache_processes
munin-run apache_volume
■WEBブラウザから確認
Apacheのデータが閲覧出来ました。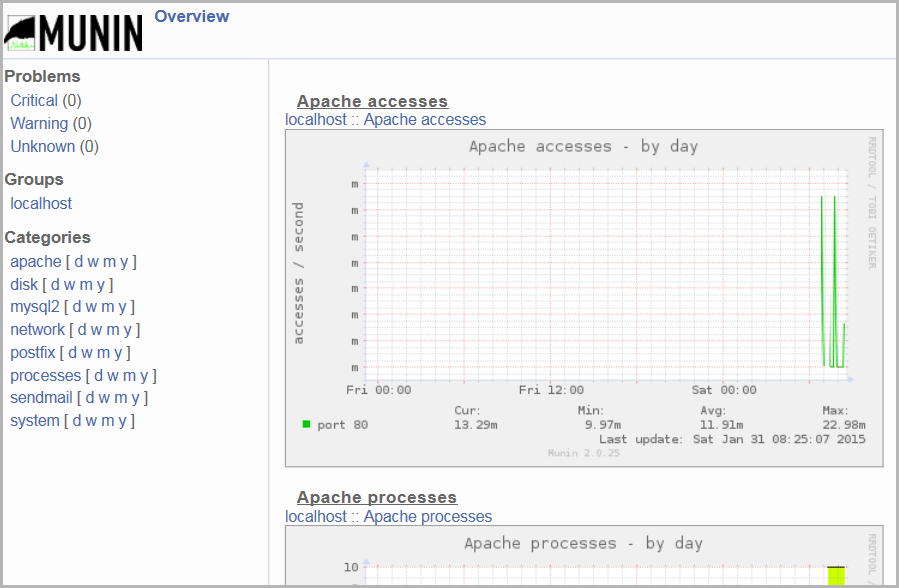
BINDのプラグインの追加
■BINDのプラグインを指定しました。
ln -s /usr/share/munin/plugins/bind9 /etc/munin/plugins/bind9
■BINDのログについて
以下の説明が有りました。
munin-nodeでは、ログは/var/log/bind9/query.logを見にいくとのことでした。
cat /etc/munin/plugins/bind9
This plugin is configurable environment variables. The following
shows the default settings:
[bind9]
env.logfile /var/log/bind9/query.log
You must also configure query logging in your named.conf. Use a stanza
such as this:
logging {
channel query {
file "query.log" versions 2 size 1m;
print-time yes;
severity info;
};
category queries { query; };
};
■named.confの編集
vi /var/named/chroot/etc/named.conf
BINDインストール直後
logging {
channel default_debug {
file "data/named.run";
severity dynamic;
};
};
編集後
logging {
channel default_debug {
file "data/named.run";
severity dynamic;
};
channel query {
file "/var/log/bind9/query.log" versions 2 size 1m;
print-time yes;
severity info;
};
category queries { query; };
};
■ディレクトリの作成
※named.confのloggingでbind9ディレクトリを指定したため
mkdir /var/named/chroot/var/log/bind9
■query.logの作成
touch /var/named/chroot/var/log/bind9/query.log
■query.logの所有者変更
chown named:named /var/named/chroot/var/log/bind9/query.log
■query.logのアクセス権変更
chown 664 /var/named/chroot/var/log/bind9/query.log
■ハードリンクの作成
ln /var/named/chroot/var/log/bind9/query.log /var/log/bind9/query.log
■named-chrootの再起動
systemctl restart named-chroot
■munin-nodeの再起動
systemctl restart munin-node
■値を正しく返すか確認します。
munin-run bind9
query_MX.value 2
query_A.value 2
query_other.value 0
■WEBブラウザから確認
BINDのデータが閲覧出来ました。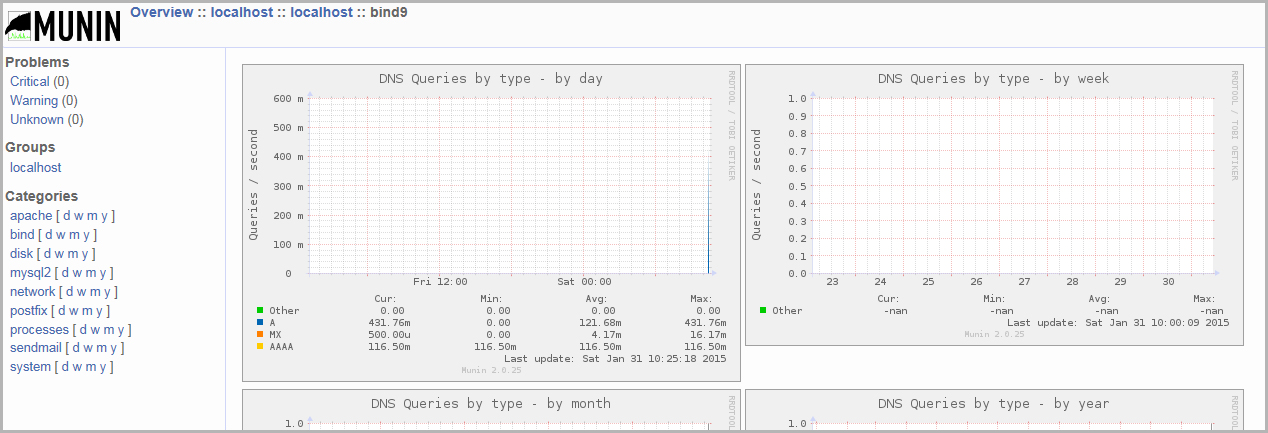
メール送信方法
未定
他のサーバ(ノード)を監視する方法
未定